As the Christmas season is approaching quickly, I thought now would be a good time to share with you a fun and easy sewing project I recently completed. We will be making a stuffed Christmas tree today. This is a cute kitschy craft made by many generations, and one that is great for beginner sewing skills. I used the sewing pattern: McCall’s 5778. You may find this same tree on other sewing patterns as well. I am making the small 11″ version, but there is a larger 17″ tree. Once you see how fun and easy these are to make, you may be making them as gifts.
For all specifics on needed materials and instructions, please follow the sewing pattern. However I will try to show you below the way this project is made. I hope it will help you if you decided to make it. I used joyful fabric I found at Joann Fabrics “Merry Main Street Alexander Henry Christmas Cotton Fabric”. I used a green with small gold polka dot fabric for contrast.
You will need to pick out two fabrics that you like, one main print and one contrast print. Using your sewing pattern, cut out 3 trees of each fabric. I then ironed them to get the creases out.
Next take one fun print and one contrast print tree, and lay them together matched up on top with good sides of fabric touching. You have 3 sets of these, and you will sew them together leaving the bottoms open. On the sewing pattern it will indicate for you how large the opening should be at the bottom.
Once you sew all three sets of trees, turn the right side out and press them with your iron.

Now take two of those trees, and lay them so the fancy prints are touching each other.

The sewing pattern indicates a line down the center. At this point in the project you are supposed to sew those layers together down the center as shown below.


So I have sewn down the center. Through all layers, two of the trees.


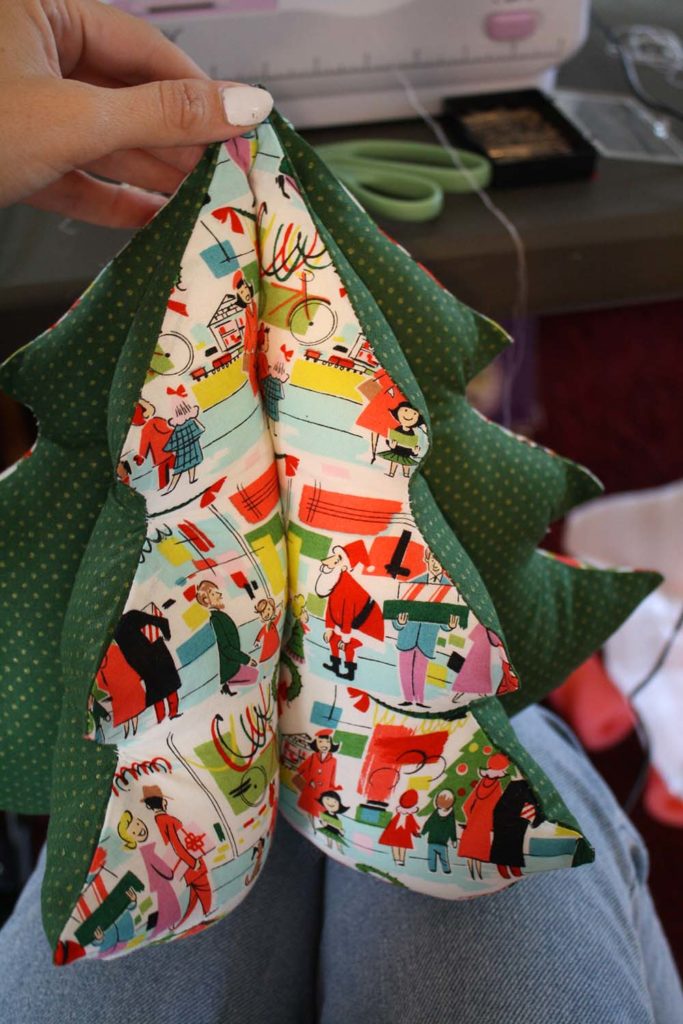
When I open it up like a book, here is the “fancy” side. Now you will take your last tree piece, and touch the fancy side ontop of this fancy side, and sew though the center again. Through all 3 pieces.

Now that I have done that, do you see it is like a multi-page book with alternating “pages”. This is how it should look.
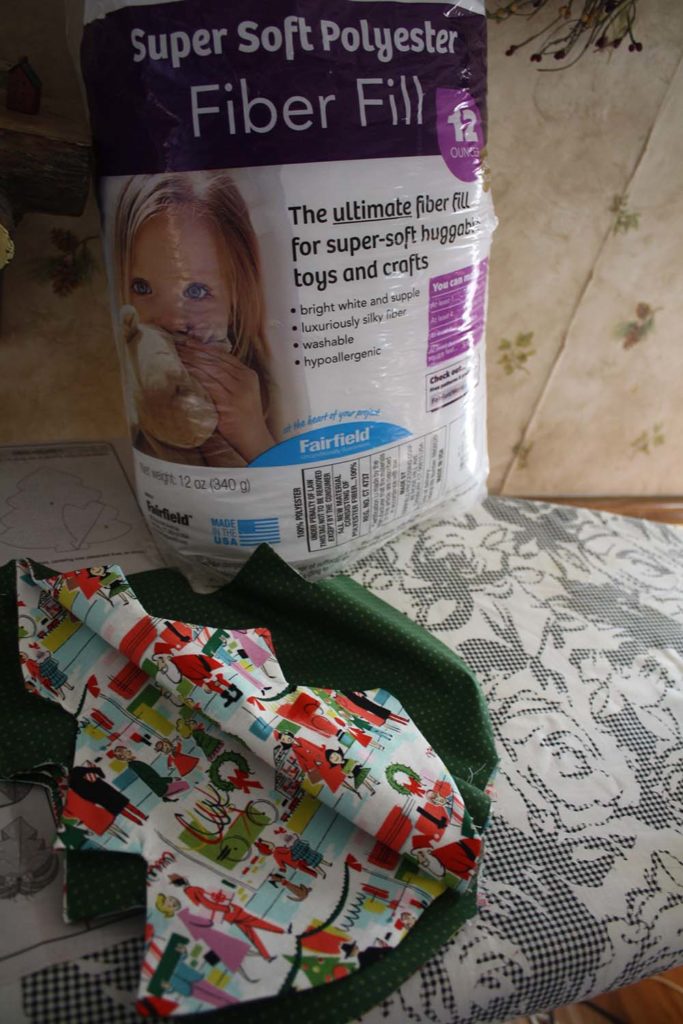
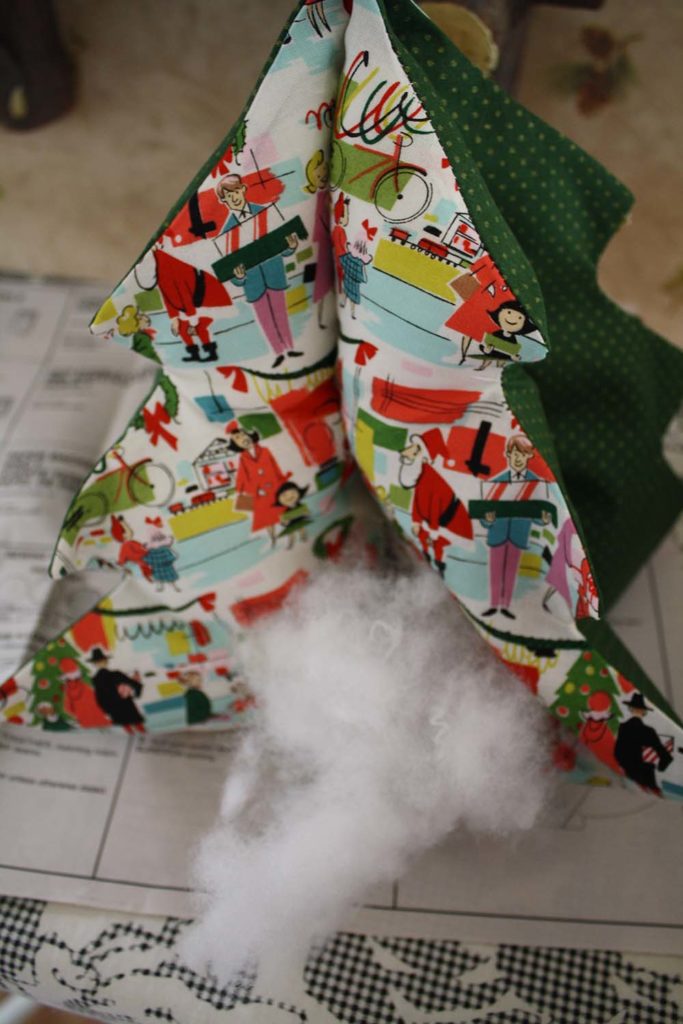
Next I took the stuffing and I started to evenly stuff all the tree portions. You want them to be pretty stiff with stuffing.
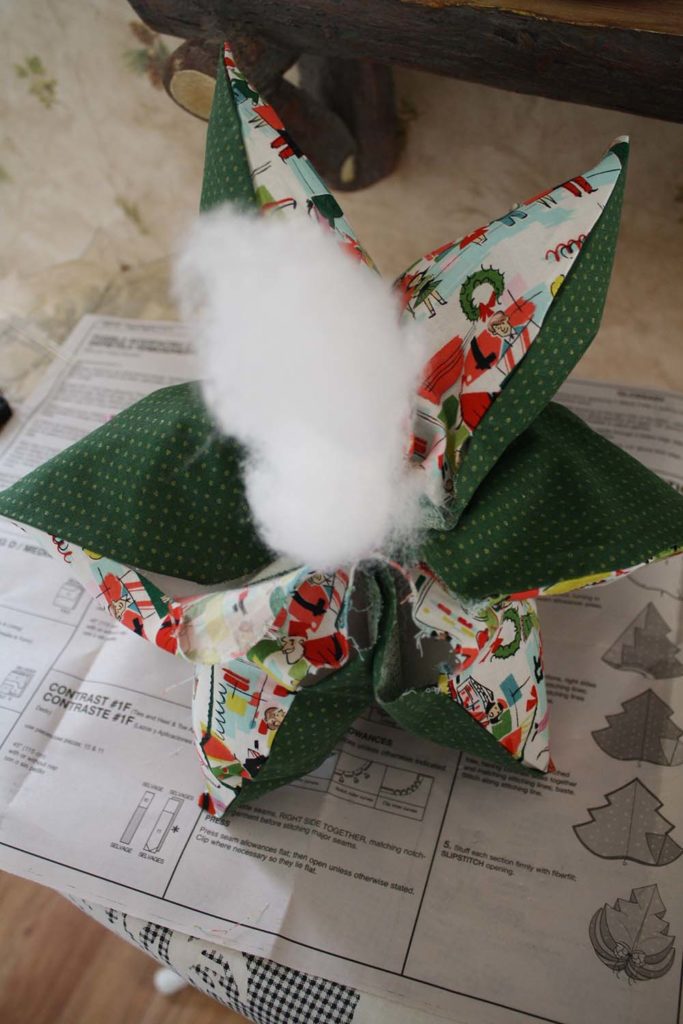
Here is what the bottom is looking like as you stuff it.

Once you like how stuffed it is, stitch up the bottom openings by hand.
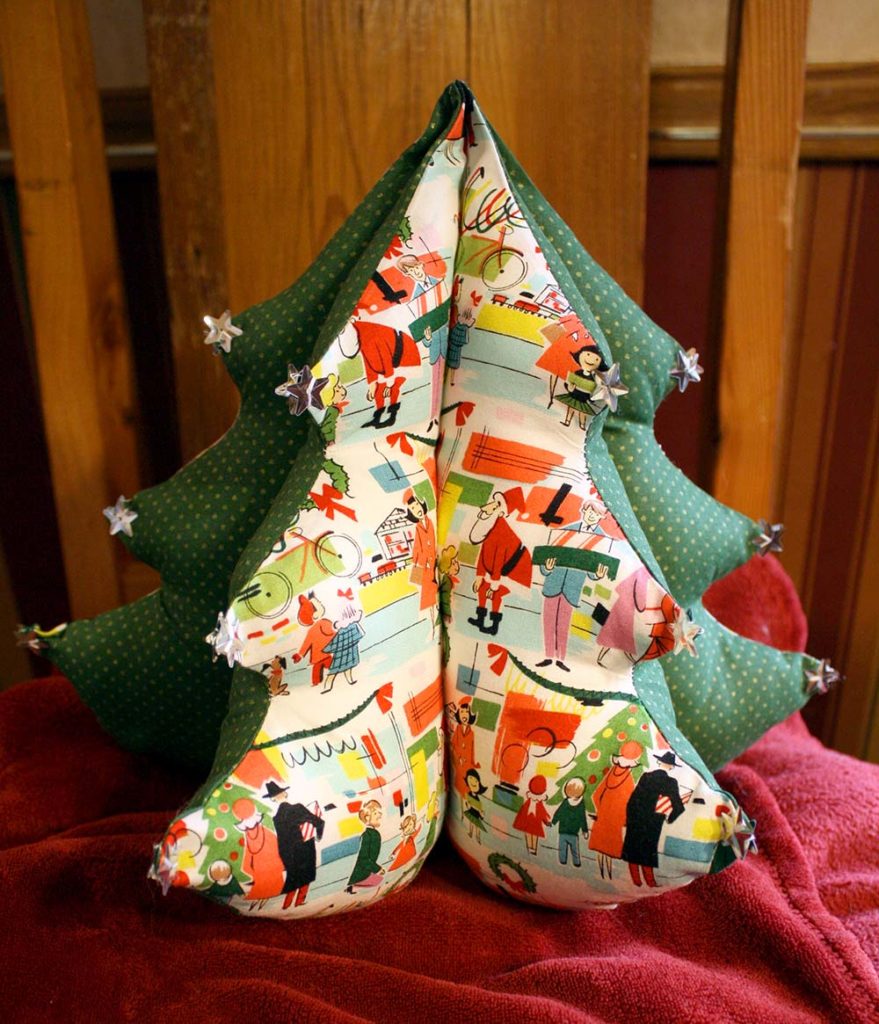
Here it is all finished! Next I decided to sew on silver star sequins to give it a little extra touch. You could also sew on mini ornaments or pompoms. Pretty cute!
craftM5778sewingstuffed Christmas tree


